Portland Guitar Co. | Portland Oregon | Contact Jay Dickinson-503.245.3276 | jay@portlandguitar.com
Portland Guitar Pretty Good Intonation (PGPG) System
Finished Build
Classical Model
CLM 1.2.63
- Body: Brazilian Rosewood
- Top: Carpathian Spruce
- Neck: Mahogany
- Binding: Cocobolo
- Headstock: Amboyna Burl
- Tuners: Gotoh, gold plate, ebony buttons, black friction resistant roller
Page 2
 ( 040 ) 21-Sept-2014
After the rim is constructed the top and bottom edges need to be shaped to conform to the bowl shape of the top and back. To do this I use top and back forms that have the same shape as the finished top and back. I put a piece of sanding paper on the form and then push the rim around until the edges are sanded to the proper shape.
 ( 041 ) 21-Sept-2014
Before starting I mark the edge of the rim with a magic marker.
 ( 042 ) 21-Sept-2014
When all of the marking has been sanded away I know the rim has the right shape.
 ( 043 ) 21-Sept-2014
I use a sanding block and support beam to make sure the top surface of heel block is in the same plane as the line drawn from the front of the guitar to the bottom of the bridge.
 ( 044 ) 21-Sept-2014
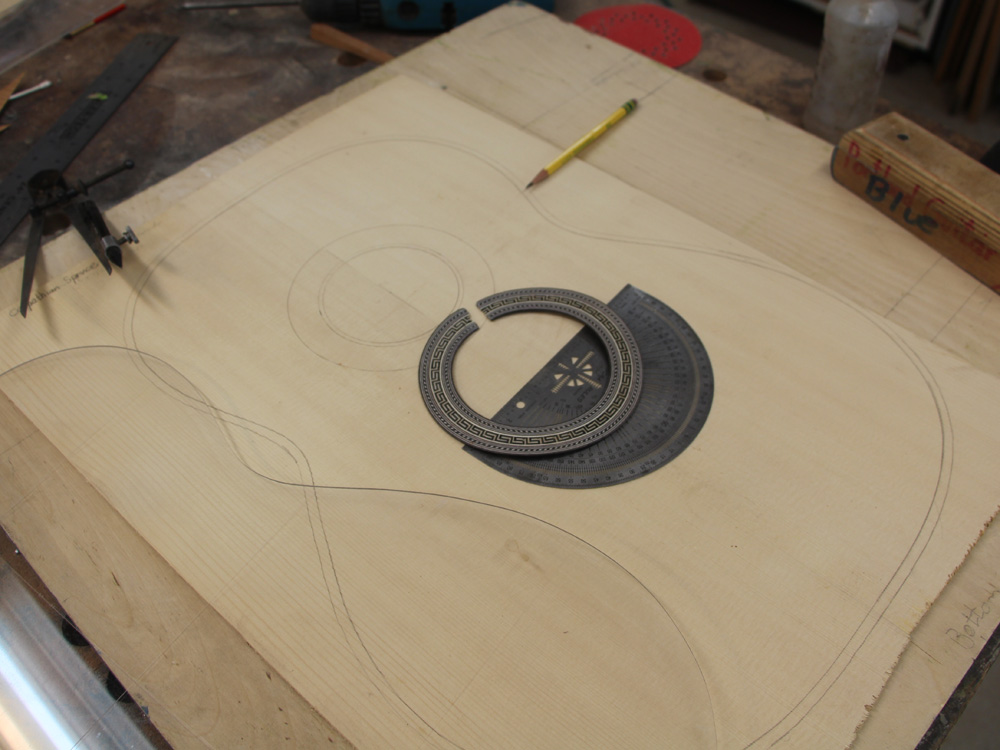
Here I am laying out the rosette.
 ( 045 ) 21-Sept-2014
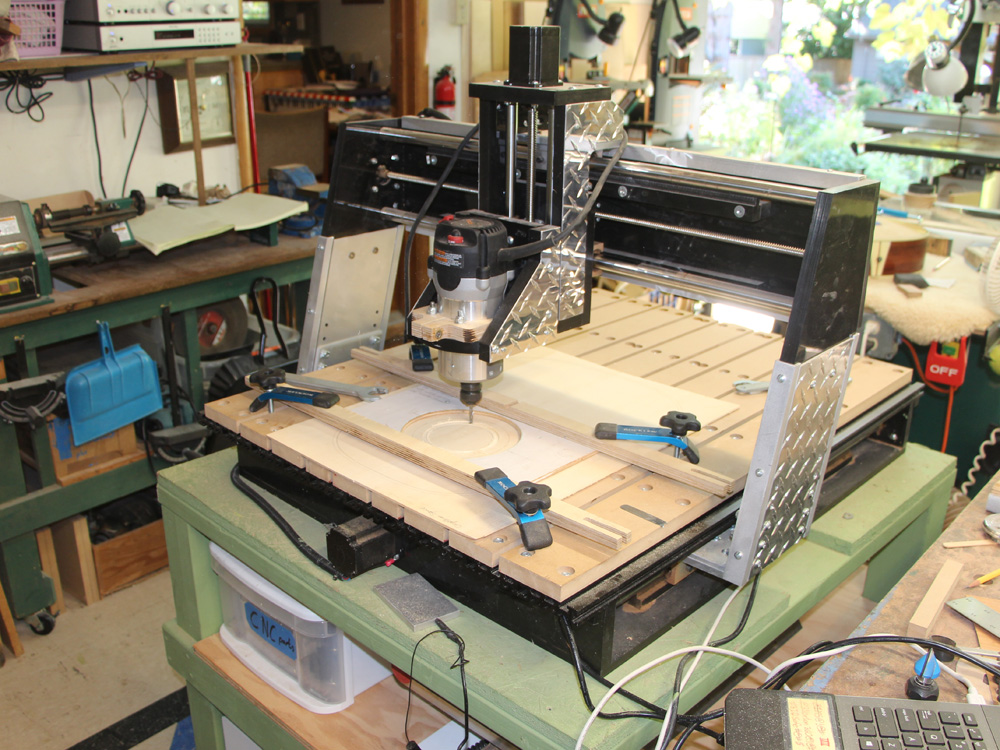
I use my CNC router to route the channel for the rosette and the sound hole.
 ( 046 ) 21-Sept-2014
A close up of the router at work.
 ( 047 ) 21-Sept-2014
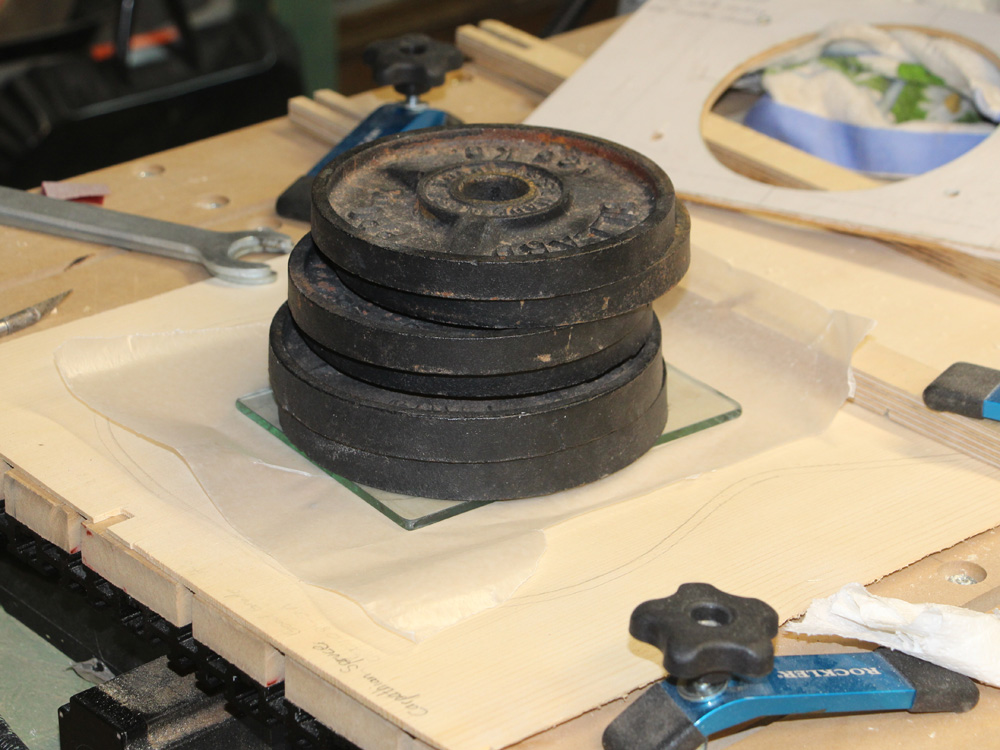
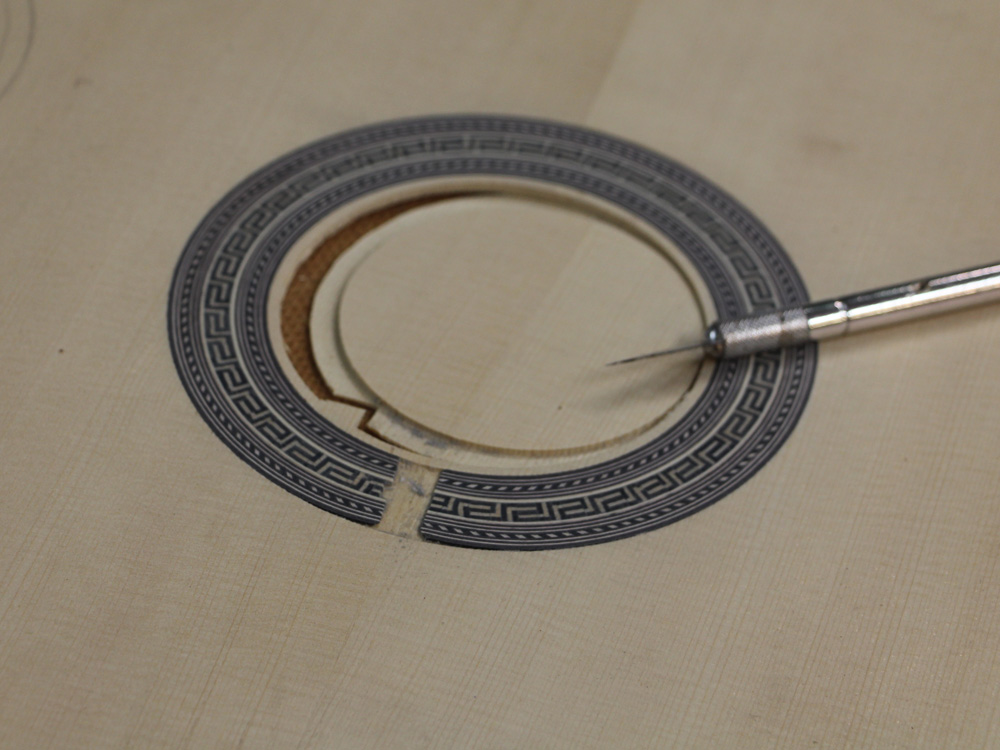
I glue the rosette into the channel and use a little weight to press it into place.
 ( 048 ) 21-Sept-2014
 ( 049 ) 21-Sept-2014
The rosette stands just a little proud of the surface so I use a palm sander to level it out.
 ( 050 ) 21-Sept-2014
Then I sand the back surface to make the plate the desired thickness.
 ( 051 ) 21-Sept-2014
110 mil thick ... 1 mil = 1/1000 inch.
 ( 052 ) 21-Sept-2014
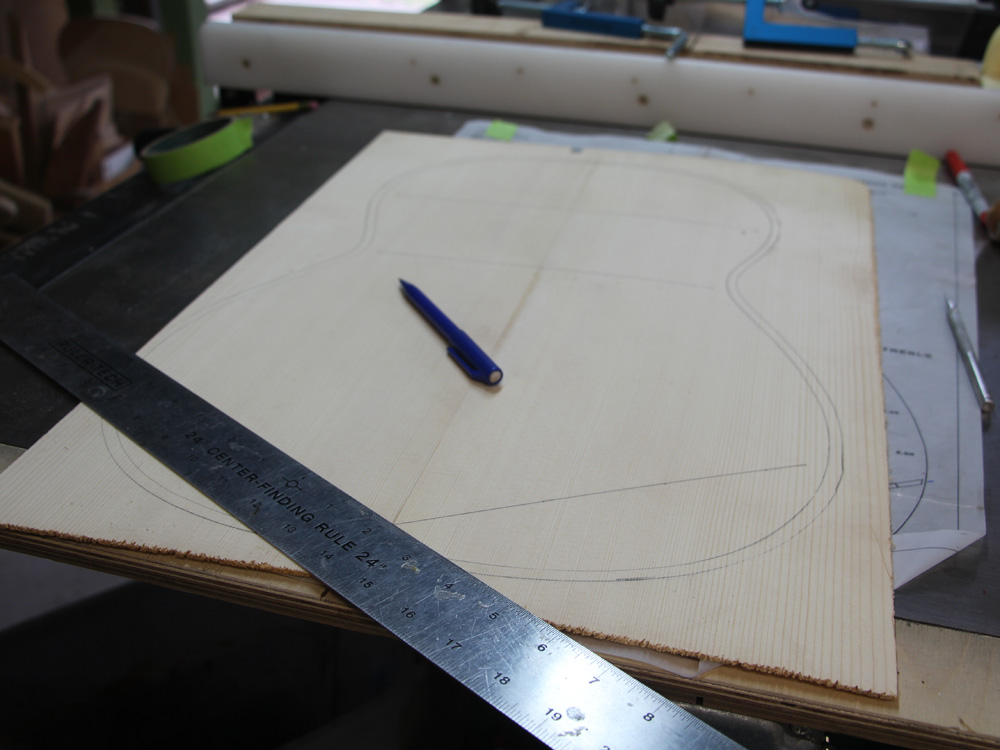
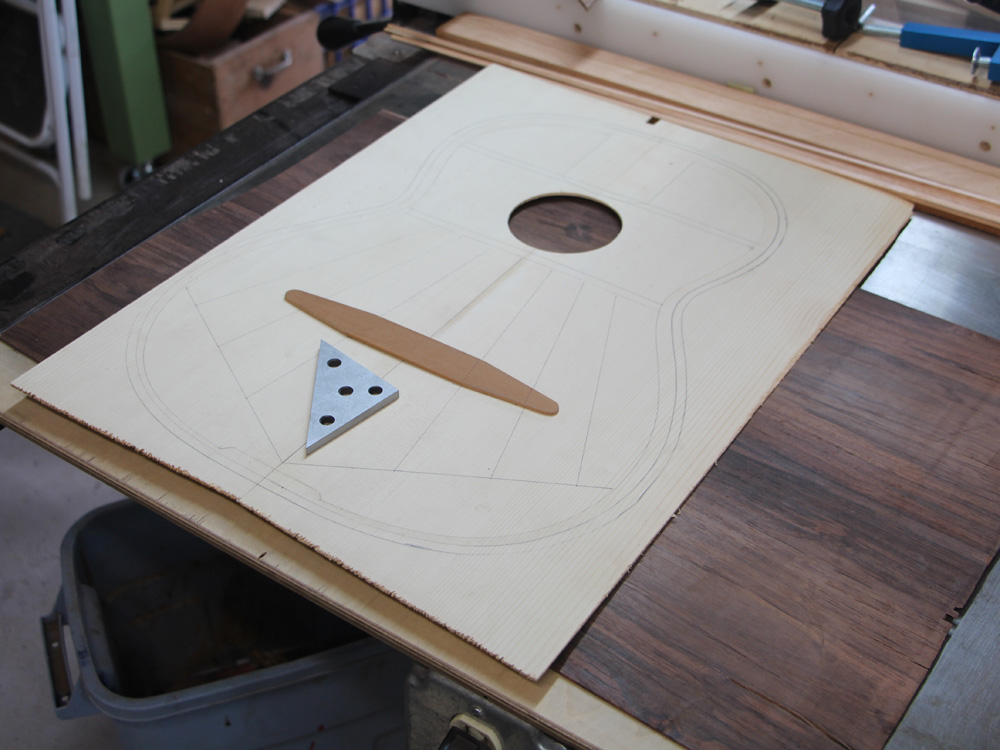
Now I lay out the bracing pattern on the back of the top.
 ( 053 ) 21-Sept-2014
And cut out the sound hole.
 ( 054 ) 21-Sept-2014
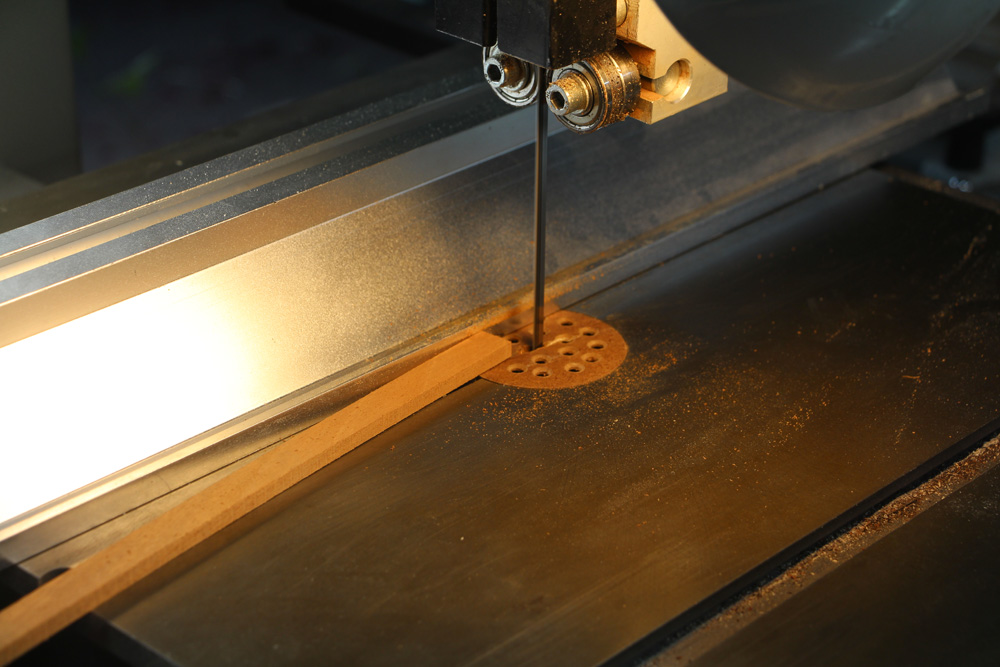
I used my table saw to cut the brace blanks.
 ( 055 ) 21-Sept-2014
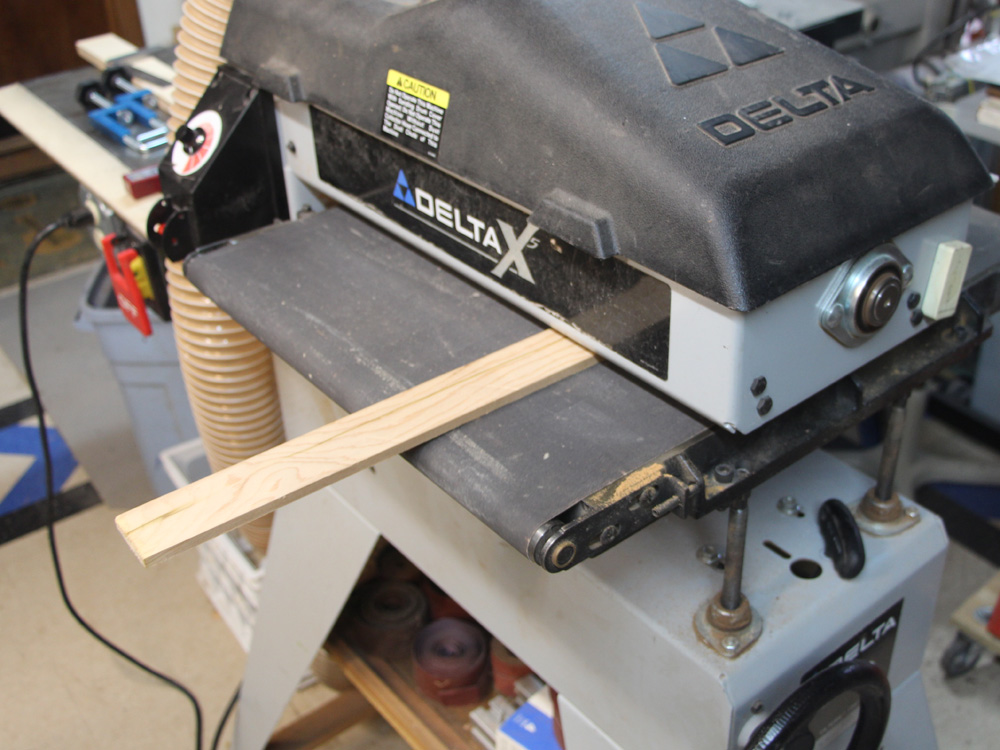
And the drum sander fine tunes the width of the braces.
 ( 056 ) 21-Sept-2014
Here I am dimensioning the bridge plate.
 ( 057 ) 21-Sept-2014
And laying it out on the back of the top.
 ( 058 ) 21-Sept-2014
The top braces get trimmed up with my small belt sander.
 ( 059 ) 21-Sept-2014
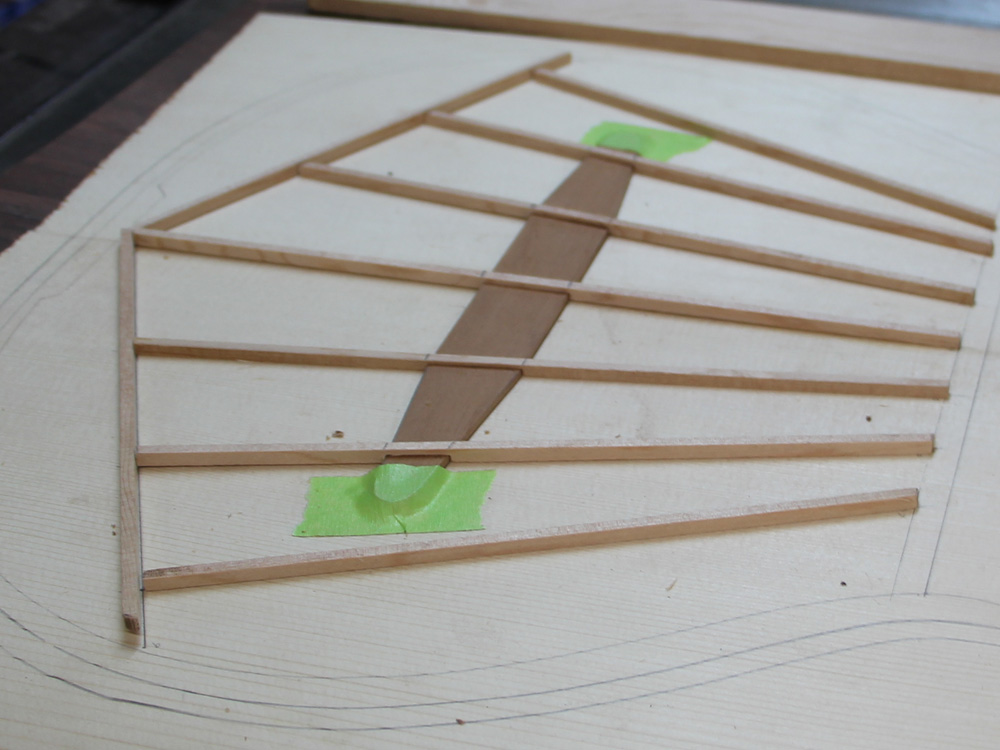
I use the router table to put a notch into the braces where they intersect the bridge plate.
 ( 060 ) 21-Sept-2014
Check for accuracy.
 ( 061 ) 21-Sept-2014
A few details of the braces.
 ( 062 ) 21-Sept-2014
The bottoms of the main cross brace blanks are sanded to the shape of the top form.
 ( 063 ) 21-Sept-2014
And then the brace blanks are cut to the right height.
 ( 064 ) 21-Sept-2014
I use the oscillating sander to shape the braces.
 ( 065 ) 21-Sept-2014
And finish up with a little hand sanding.
 ( 066 ) 21-Sept-2014
Finally I cut and sand the end scallops.
 ( 067 ) 21-Sept-2014
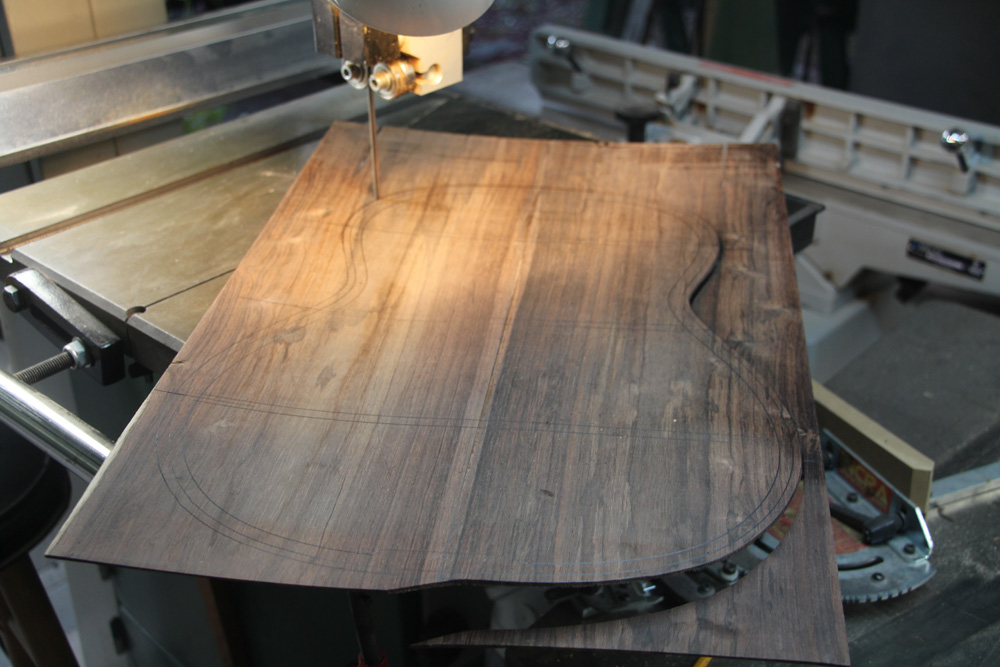
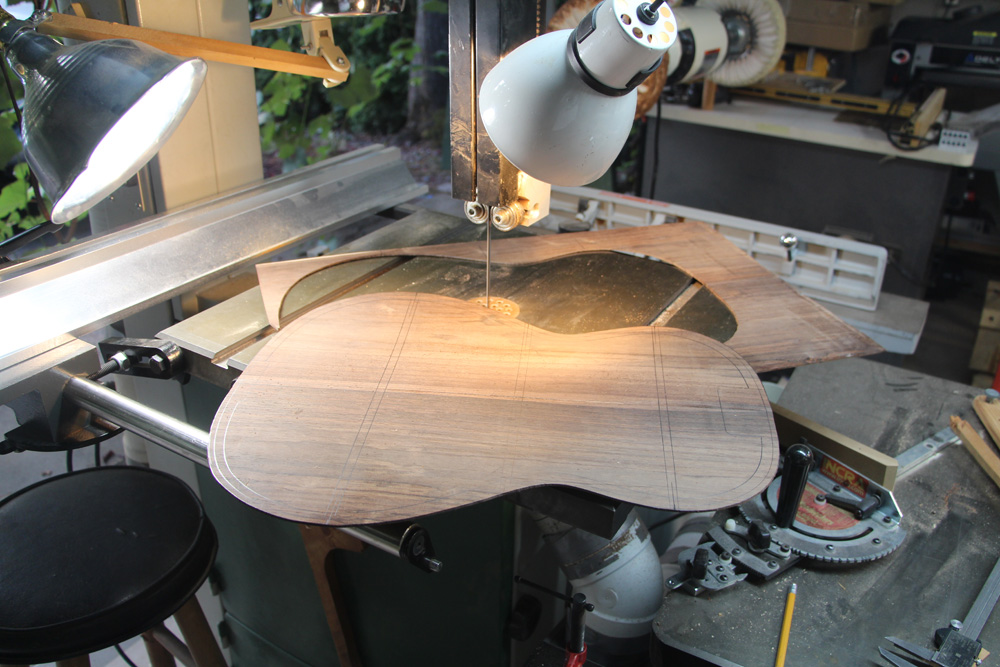
Now I carefully cut out the top plate.
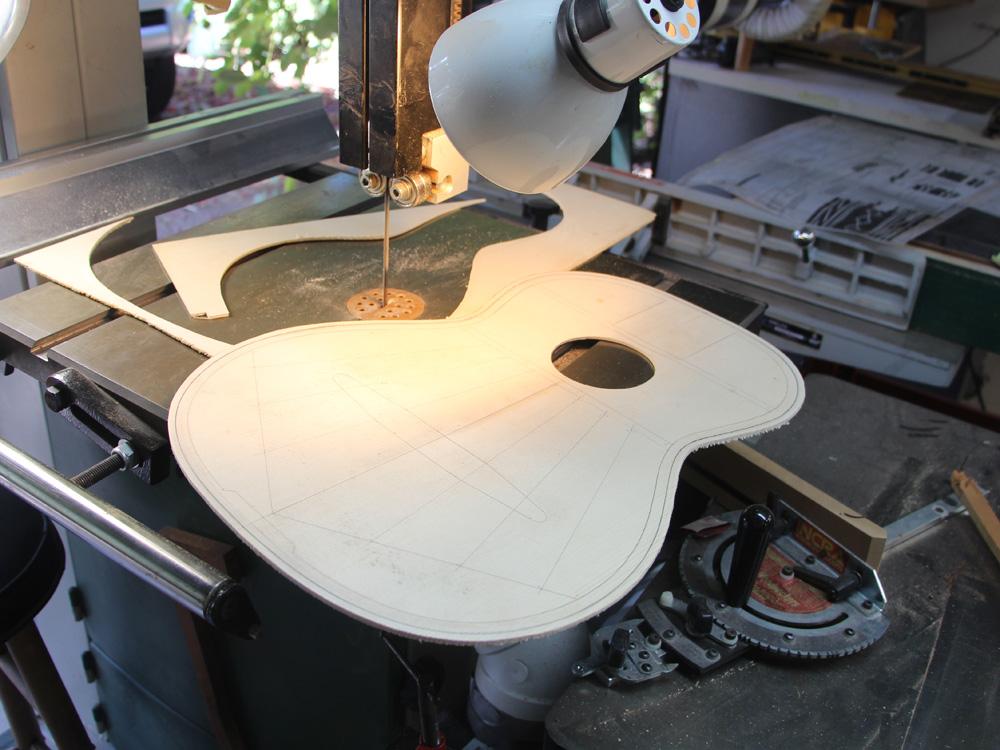 ( 068 ) 21-Sept-2014
 ( 069 ) 21-Sept-2014
I use the excess from the top plate blank to make the sound hole ring. I always try to use every bit of wood I can and waste as little as possible.
 ( 070 ) 21-Sept-2014
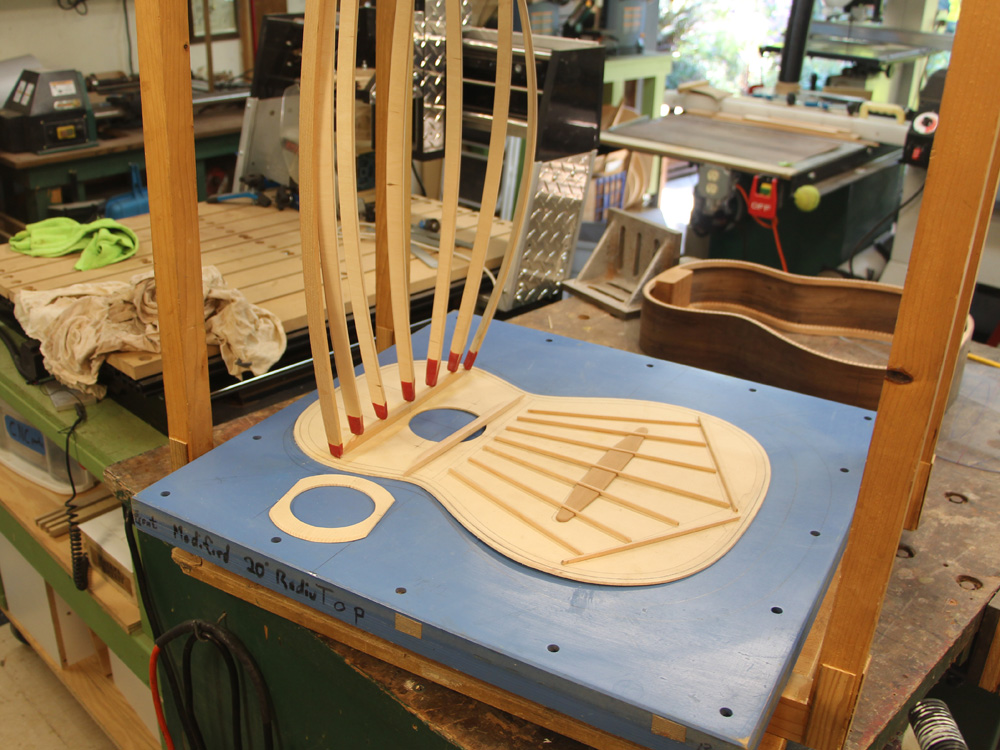
Now I use my go-box to glue the braces in place.
 ( 071 ) 21-Sept-2014
 ( 072 ) 21-Sept-2014
 ( 073 ) 21-Sept-2014
A forest of go-sticks.
 ( 074 ) 21-Sept-2014
And when the glue has set up.
 ( 075 ) 21-Sept-2014
I will spend a bit of time cleaning up the interior surface before I attach the top to the rim. A clean interior helps the notes to get out easier... or so they say. No one will see the back of the top, but it makes me feel better knowing it looks pretty.
 ( 076 ) 21-Sept-2014
 ( 077 ) 21-Sept-2014
When I install the sound hole ring I make it a little bit smaller than the sound hole and then sand it to the right diameter.
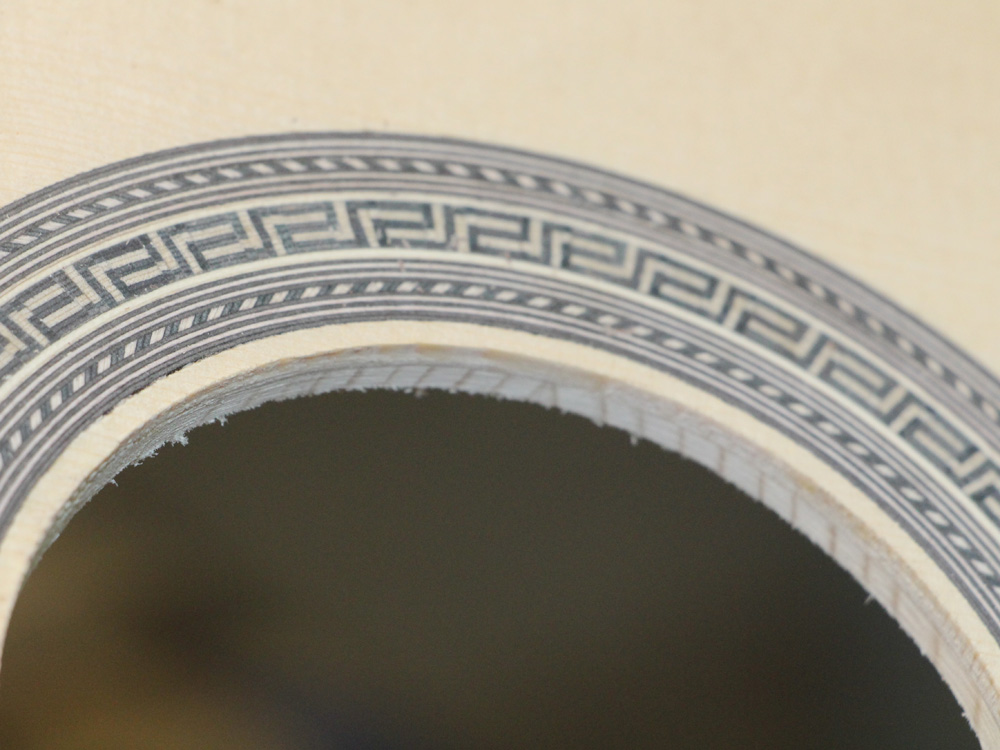 ( 078 ) 21-Sept-2014
This results in a nice crisp joint. The interior edge will be rounded over a bit later.
 ( 079 ) 21-Sept-2014
 ( 080 ) 21-Sept-2014
I use a template and belt sander to shape the bottom of the back brace blanks.
 ( 081 ) 21-Sept-2014
I mount the blank on the template with a bit of overhang.
 ( 082 ) 21-Sept-2014
Then I press the template up against the edge guide and the brace are sanded to the same shape as the template.
 ( 083 ) 21-Sept-2014
The bandsaw trims the blanks to the right height.
 ( 084 ) 21-Sept-2014
After laying out the back I use the bandsaw to carefully trim the it to shape.
 ( 085 ) 21-Sept-2014
 ( 086 ) 21-Sept-2014
And then trim and shape the back braces.
 ( 087 ) 21-Sept-2014
The go-box is used again to install the braces.
 ( 088 ) 21-Sept-2014
 ( 089 ) 21-Sept-2014
 ( 090 ) 21-Sept-2014
Next up will be installing the contra-rosette and the center reenforcing strip.